The Piston-Broke ‘Quark Spanner’
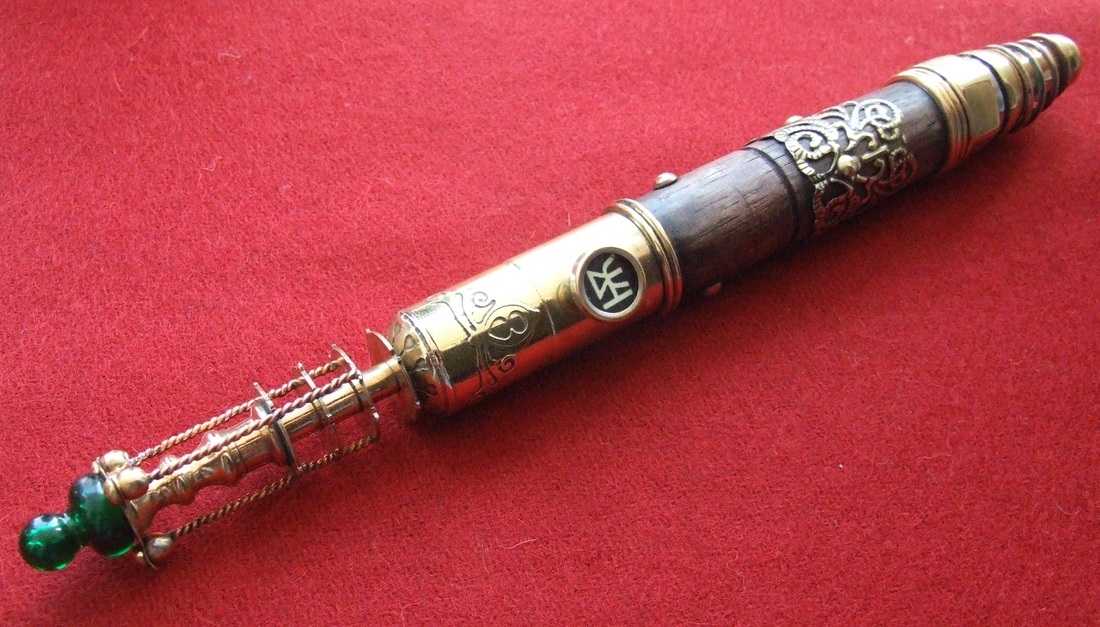
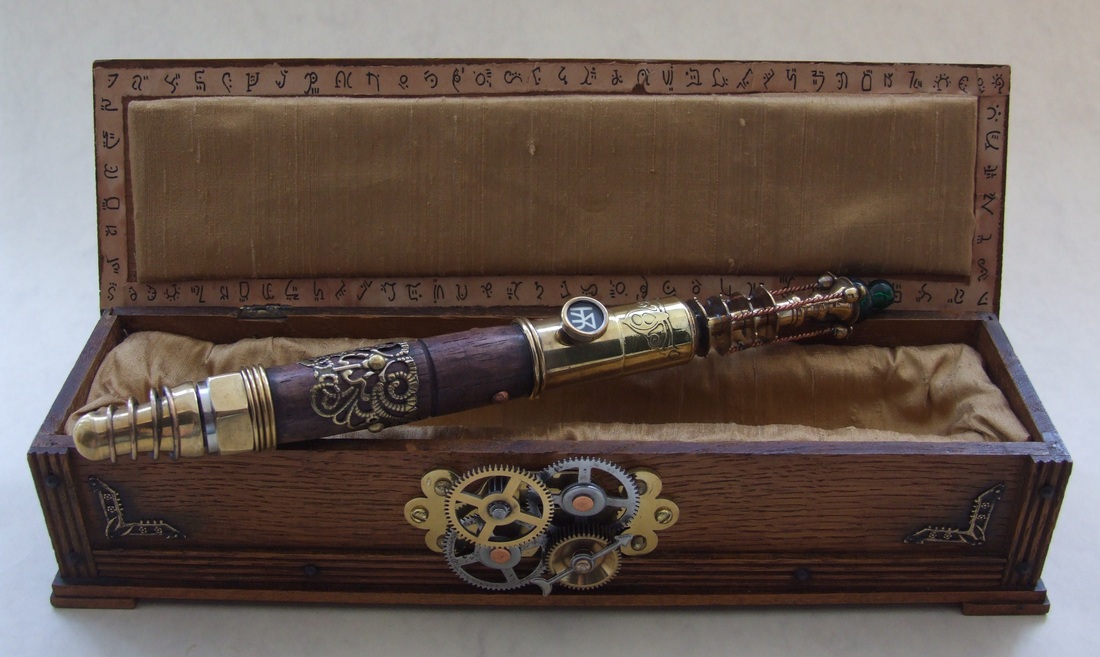
Based on the Gallifreian Sonic Screwdriver, the Quark Spanner is designed to finely
adjust and tune temporal particles to provide a far more accurate time travel
experience.
This prop was made using a section of 22mm brass tubing, 25mm diameter wooden dowel, a brass curtain pull, plumbing parts, typewriter key, brass rings, cam wheels from a clock chime, copper wire, springs and a small brass candlestick. The electronics were taken from a toy which provided the batteries, switch, LED and buzzer/emitter.
I started by shaping the wooden section of the grip using the 25mm wooden dowel
(stained and waxed to look like old mahogany).Once shaped, a 15mm diameter hole was drilled into one end to receive the battery compartment and electronics.
Whilst working on the wooden part, the 22mm brass tube was sitting in a pot of etching solution masked with the art nouveau decorations. The etching takes about two to three
hours for a deep enough cut. The decorative dome was then made from a brass disc
(also etched) and punched with a 7mm hole to receive the next component. This was then soldered to the end of the tube.
The end finial was soldered together from a brass curtain pull, capped with a brass dome, a 22mm cast-brass plumbing nut from the hardware shop which I smoothed and polished to remove the rough casting finish. I also added three 22mm internal diameter brass rings. Once cleaned-up and polished this could be screwed directly onto the
wood with a spot of glue. A conical brass spring was then wound onto the end.
The steel spindle was removed from the chiming cams leaving the brass discs and
spacers. These were then re-drilled to take a 6mm diameter copper tube as a conduit
for the LED wiring. This assembly was then soldered together.
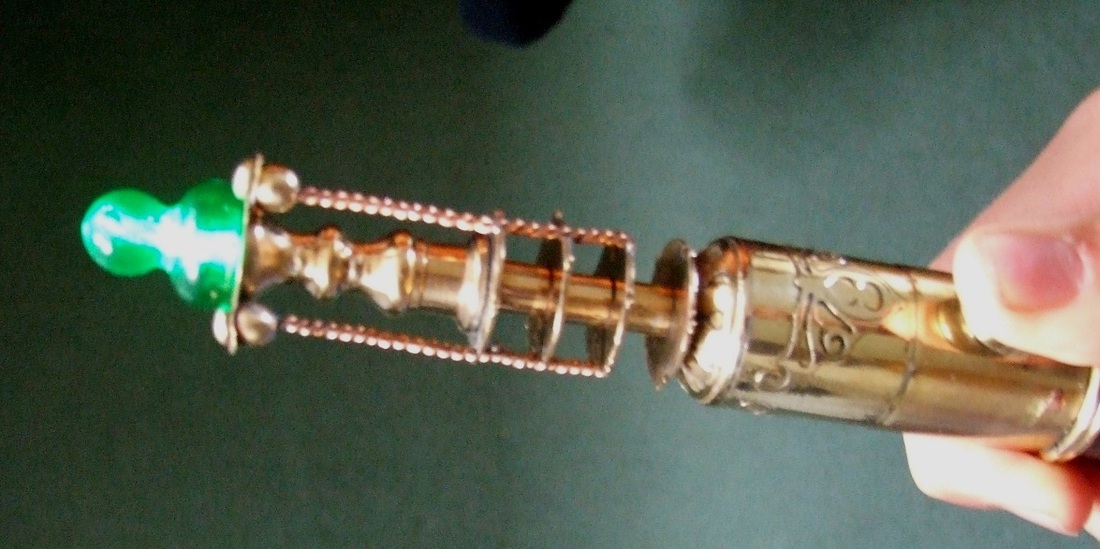
The three-point terminal was made using an old clock part, brass beads and brass
rivets. The brass beads were riveted to the clock part, then drilled to accommodate the twisted copper wire, grooves were filed into the cams as recesses for the twisted copper wire, which is then soldered into place.
This sub-assembly was then soldered to the decorative dome/22mm brass tube. Great care was needed for this to ensure all the earlier soldering didn’t come apart!
The press-button switch was fitted to the brass tube to enable a simple thumb-press
to activate the sound and light effect. This was done using an old typewriter key, soldered to a hollow brass rivet together with a small compression spring and a brass washer - all held together by a rivet head.
The assembly had to be soldered inside the tube with the spring compressed – again,
a fiddly and tricky business. Once in place, the key was re-assembled with its new character, glass and retaining ring. The LED was threaded through the tube and the two halves of the unit fastened together. Final decorations such as the brass stamping were added along with the green shroud over the LED to complete the project.


 RSS Feed
