Plasma Ball Desk Lamp.
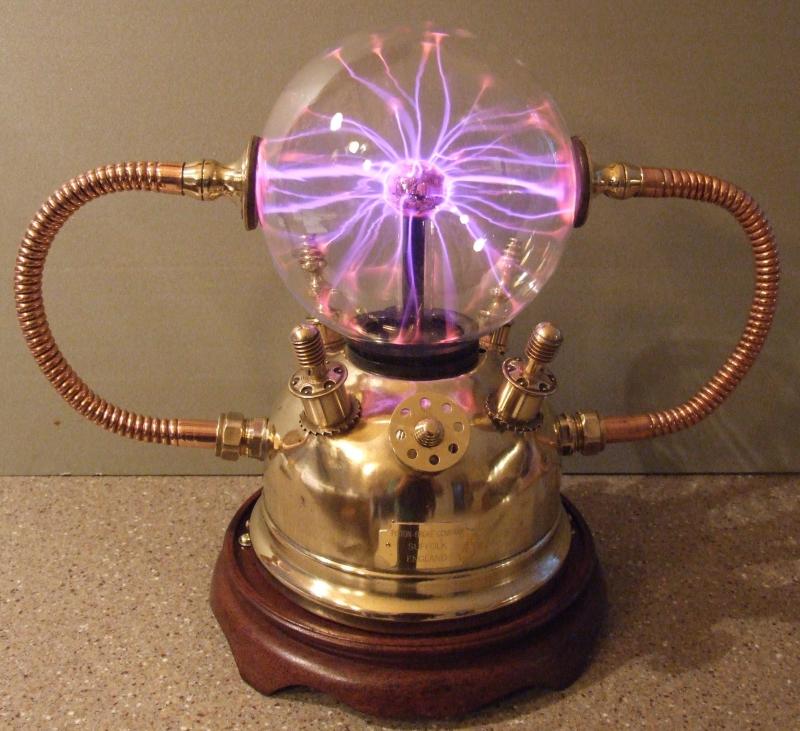
The starting point for this project was to source a suitable alternative base for the lamp. I happened to have an old brass camping stove base in the workshop for some time just waiting for the right use! This was coupled with a standard, commercially available 8” plasma ball lamp.
I first removed the base from unit, separating the glass ball and the electronics. Holes were then cut in the top and bottom of the brass base using a Dremel cutter to receive the lamp base and electronics. An 8mmØ hole was also punched at the back for the power supply lead.
After a good clean up and polish, the soldered-in screw fittings were removed from the four corner posts which will allow for other fittings to be attached later. Holes were then made for the connection of the two flexible copper pipes. These are standard 15mm diameter flexible copper plumbing fittings. Give them a quick polish on the buffing wheel and they look great! Once formed into the desired shape, the flared terminals were soldered to the ends. Once cleaned up, these were insulated by gluing on two 4mm leather pads. The other end is then connected to a standard 15mm brass plumbing fitting.

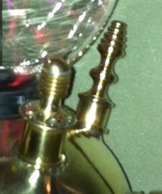
The four corner-post terminals were the next stage. The rearmost two terminals are made from a pair of small brass candlesticks, the foremost were constructed from clock drums, two brass buttons, Meccano screw gears and two small hollow brass domes.
This just left the opening on the front of the base where a filler cap or primer used to be. Two Meccano parts and a brass finial soldered together provided the answer!
The original plasma ball base unit was fixed to the wooden base, and the brass base positioned on top. This is secured with two ‘L’ shaped brackets riveted to the base, these are then fixed to the wood with brass screws.
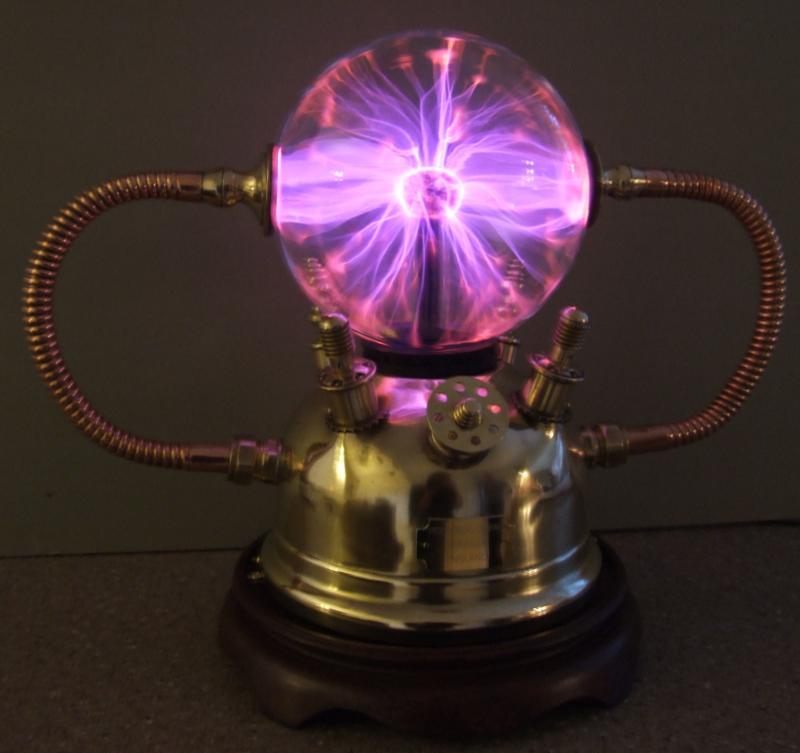
The glass ball was put back in place to complete the build!
The original plasma ball base unit was fixed to the wooden base, and the brass base positioned on top. This is secured with two ‘L’ shaped brackets riveted to the base, these are then fixed to the wood with brass screws.
The glass ball was put back in place to complete the build!


 RSS Feed
