
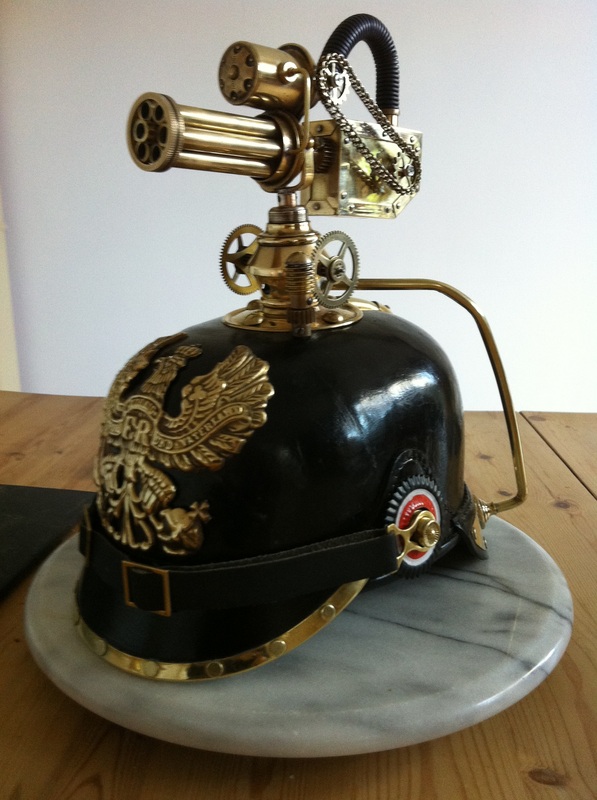
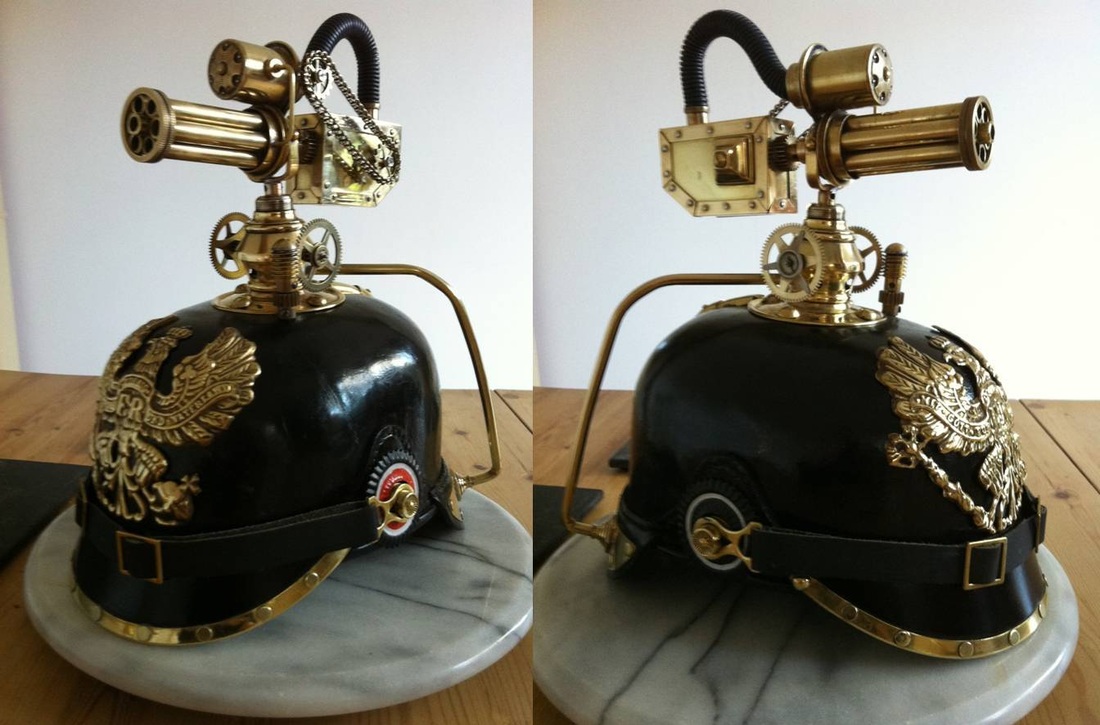
Or 'Inchworm' Chain gun. I have always like the Pickelhaube as an item of military headwear. In order to convert a replica over to a more Steampunk form, I had to first decide what was going to replace the standard helmet spiked finial. It had to be along military lines, so, I ended up choosing a miniature Gatling type machine gun!
In order to keep the weight to a minimum, the gun had to be kept reasonably small. The gun itself was made from 7mm and 22mm brass tubing, some parts from a brass light bulb holder, a brass button, a small section of brass binoculars and various smaller components, including some good old Meccano!
Firstly, the spike from the helmet was removed to the required height to allow secure fitting of the gun itself. The barrel section was constructed by soldering 7 sections of 7mm brass tube (salvaged from plunger rods of old fire extinguishers) into a brass Meccano belt drive wheel. Once these were in place, the muzzle ring (from a brass light bulb holder) was soldered in-place. Te domed section of the light bulb holder was then soldered to this sub-assembly. The swivel bracket is made from 7mm x 2mm brass bar folded into a U shape, drilled and fixed into place with brass rivets and solder. A Meccano contrate gear wheel was used as a foot for the gun as it exactly fitted into the binocular lens section on the helmet finial.
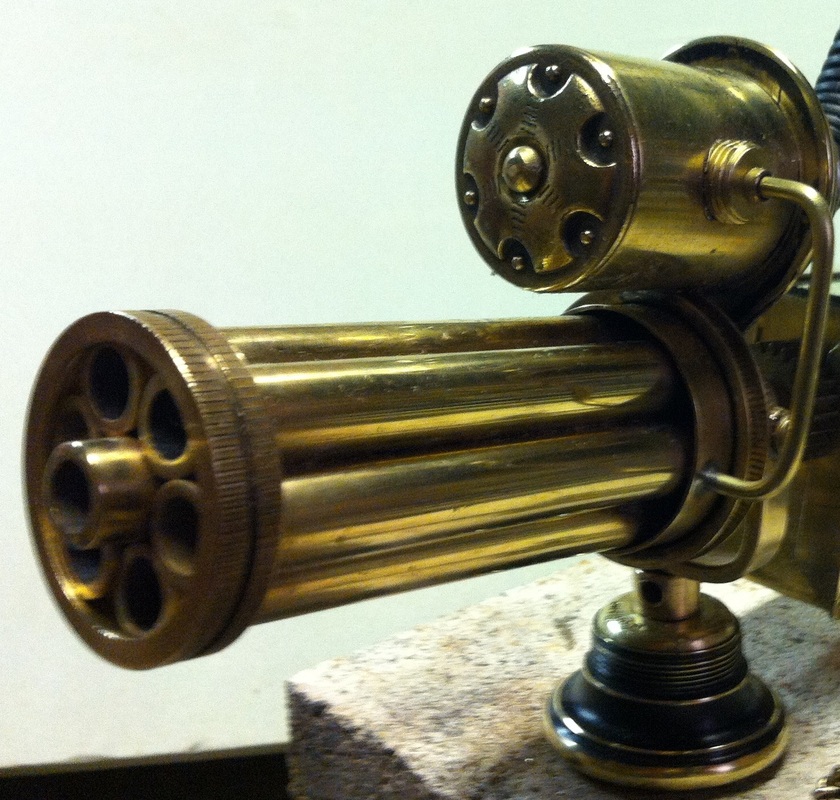
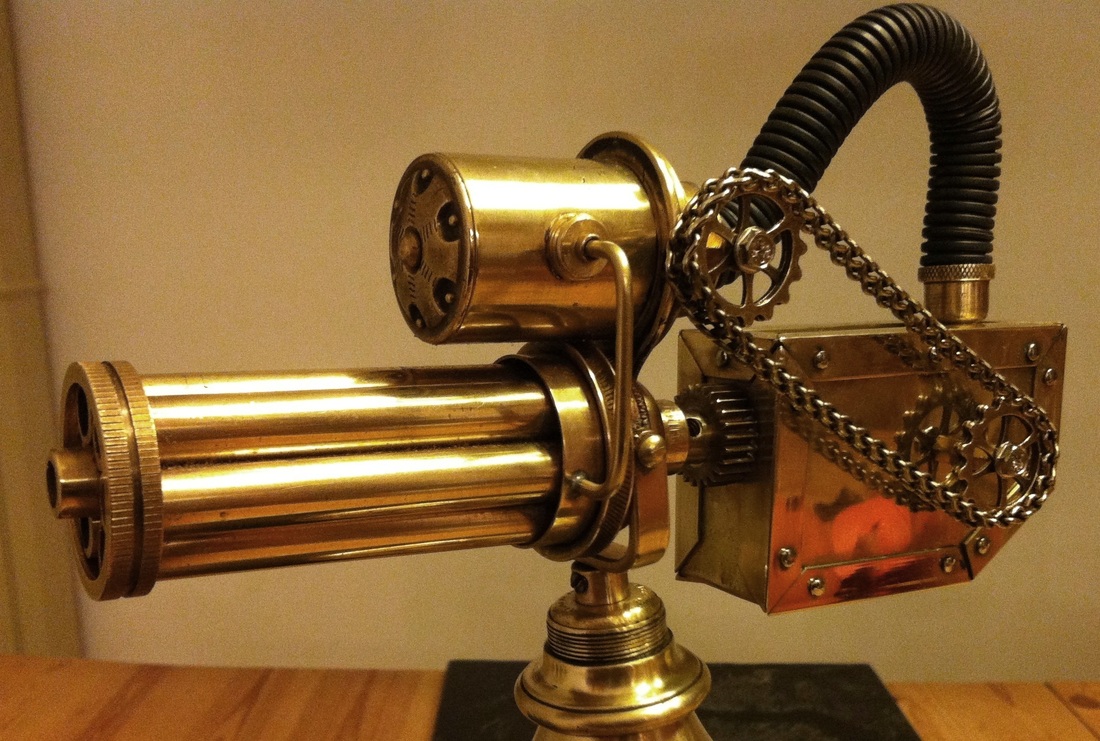
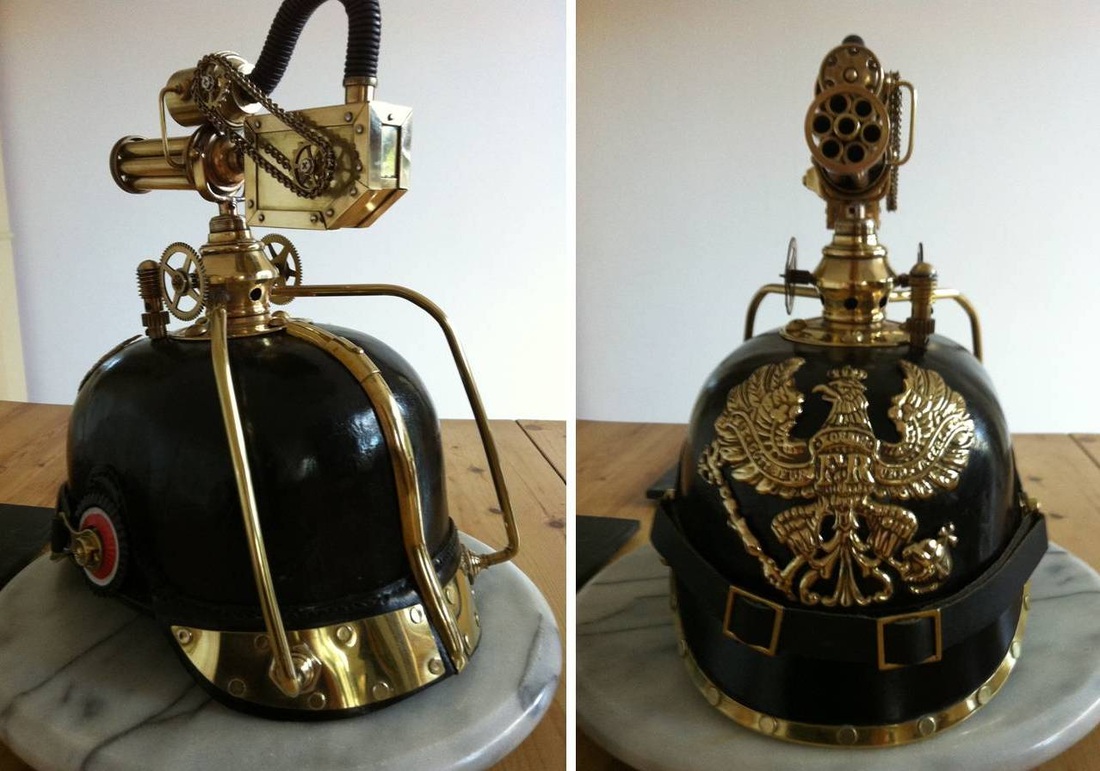
The steam turbine section mounted on top of the barrel assembly is made from a short section of 22mm brass tube (also from the insides of old fire extinguishers) which was soldered to a second section of an old pair of binoculars and part of the binocular frame and a large brass button (front end). A smaller Meccano belt drive wheel was soldered to the back of the lens part for the connection of the reinforced hose, which just happened to be a perfectly snug fit! For additional support, a small length of brass tube was formed and soldered to the barrel assembly.
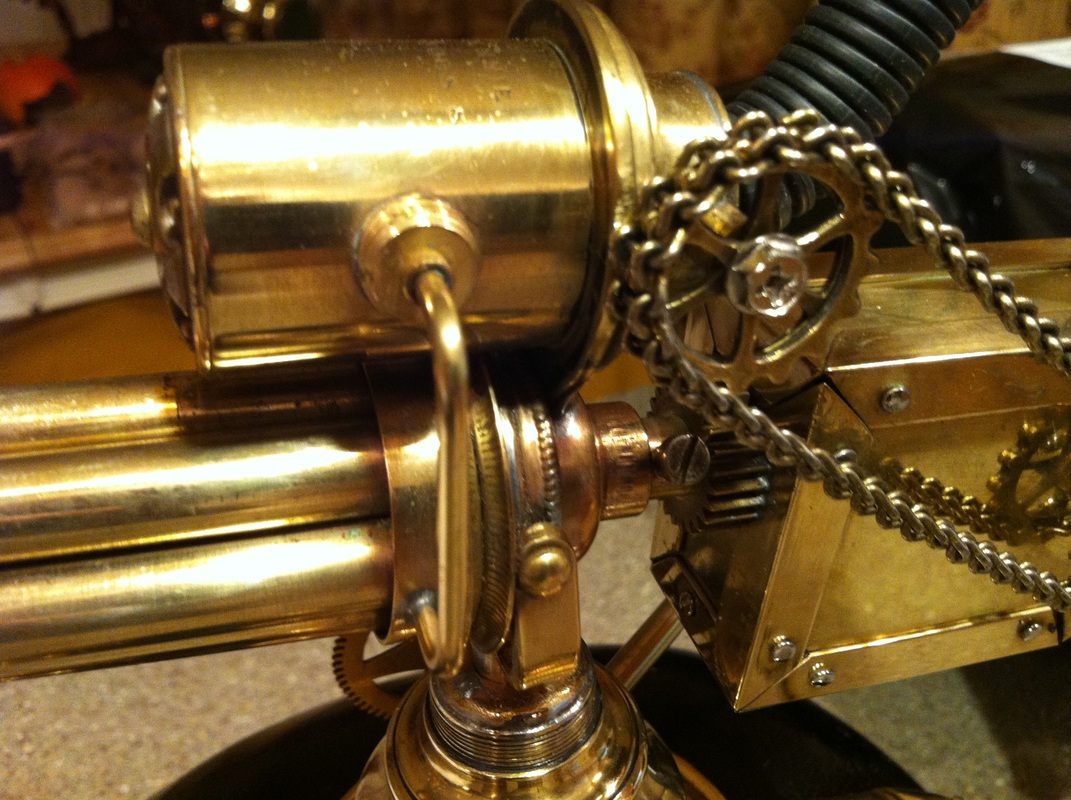
The magazine was cut from brass sheet and soldered into a box shape. This was then edged in right angle section brass. A connector was soldered into place on the top plate for the connection of the hose. The magazine loading block (right side) was made from the foot of a small brass candlestick. Once in place, the two chain drive gears were fitted. One to the magazine and one to the steam turbine section. The chain is a standard Meccano chain cut to length.
Once fully assembled, the gun was put aside whilst work on the helmet itself commenced!
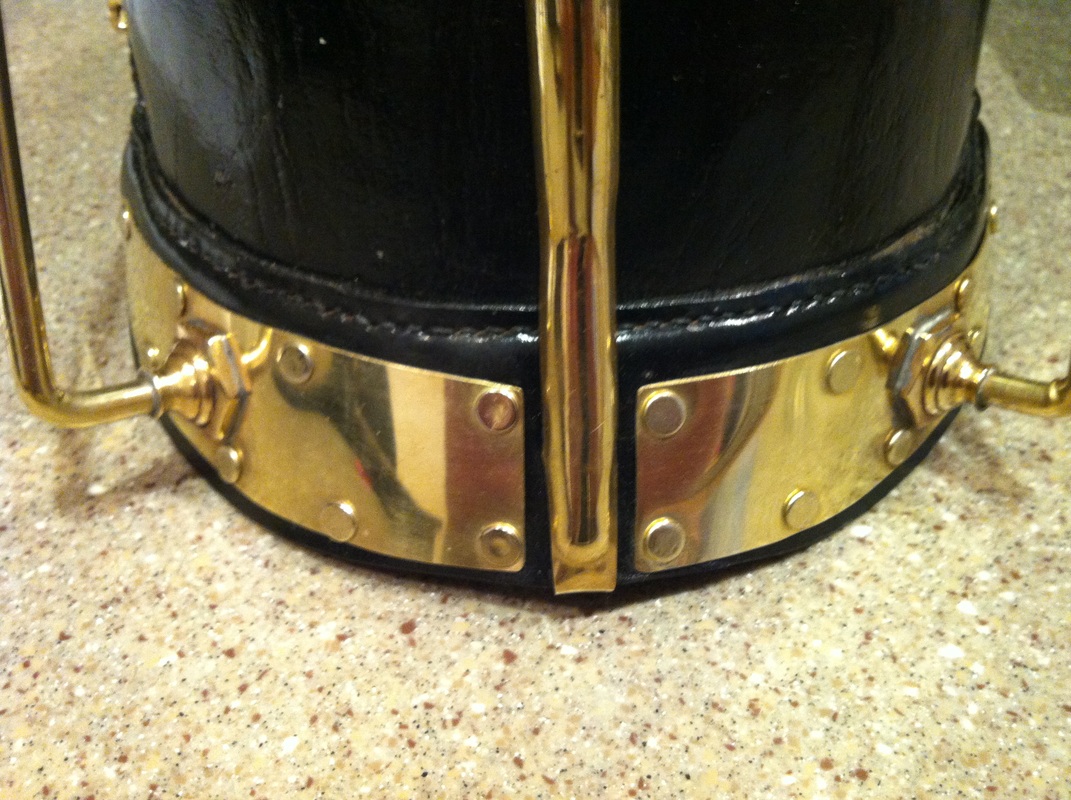
The simple parts were completed first on the helmet. Holes were punched and decorative rivets positioned along the brass peak edging and sheet brass plates were cut to size for the neck portion of the helmet and punched ready for attaching rivets. The binocular lens section was soldered into place atop the cut-down spike finial.
Two sections of 7mm diameter brass tubing were formed to the required shape. Hexagonal candlestick bases were then soldered into place onto the plates and drilled to 7mm to accept the brass tubing. This was quite a tricky process involving many clamps to hold the connectors to the plate whilst holding the brass tube in the correct angle whilst soldering it all up! Once assembled, the parts were then riveted to the neck guard section of the helmet and the uppermost ends of the pipe work soldered into the holes of the helmet finial.
A hole was drilled into each side of the finial at its widest section to accept the two gear wheels, which were then soldered in place. A hole was drilled through the helmet and internal steel plate for the upright spiral gear and the gear fixed into position.
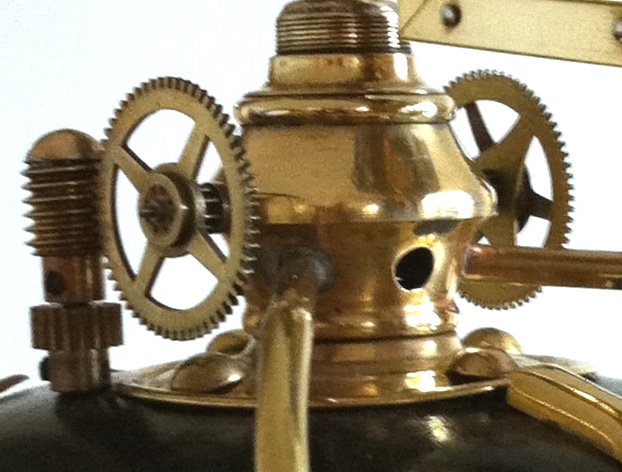
Lastly, the gun sub-assembly was soldered into the finial to complete the build.
 RSS Feed
